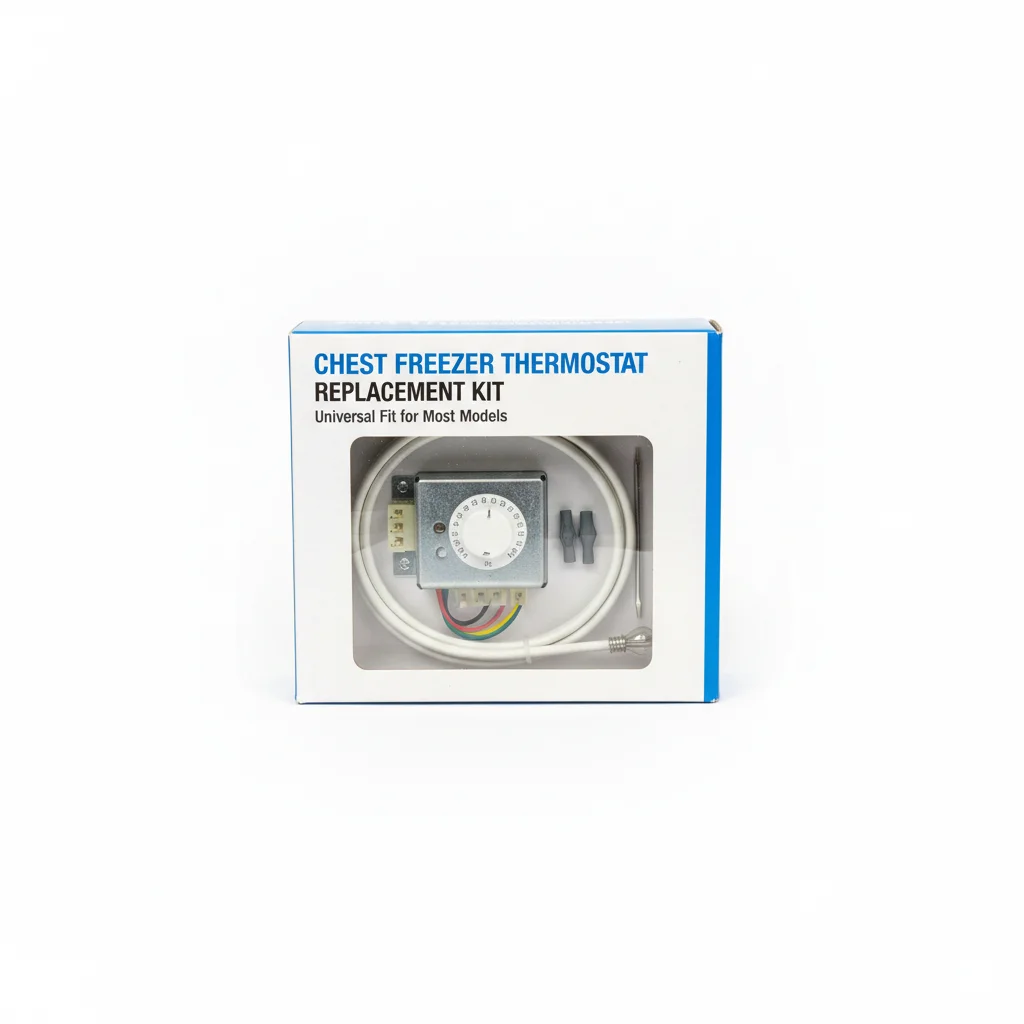
Replacing a faulty chest freezer thermostat is a manageable DIY task that can save you significant repair costs. On average, you can expect to spend between 30 minutes to an hour on this repair, depending on your comfort level with basic tools and the specific model of your freezer. A new thermostat typically costs between $20 and $60, making this a cost-effective solution for a common issue.
Signs Your Thermostat Needs Replacing
Several indicators suggest your chest freezer’s thermostat might be failing. The most obvious sign is inconsistent temperature control, where your freezer is either too warm, causing food to thaw, or too cold, leading to excessive ice buildup and freezer burn. You might also notice the compressor running constantly without cycling off, or conversely, not running at all. If your freezer cycles on and off too frequently, this can also point to a thermostat problem. Before assuming the thermostat is the culprit, ensure the freezer is plugged in correctly and the power outlet is functioning.
Tools and Materials Required
Before you begin, gather the necessary tools and materials. You’ll need a new replacement thermostat, which should be specific to your chest freezer’s make and model. Consult your freezer’s manual or the manufacturer’s website to find the correct part number. You’ll also need a screwdriver set (Phillips and flathead), needle-nose pliers, wire cutters, electrical tape, and possibly a multimeter to test continuity. Always unplug the freezer from the power source before starting any repair work to prevent electrical shock.
Step-by-Step Replacement Guide
|
Our Picks for the Best Chest Freezer in 2026
As an Amazon Associate I earn from qualifying purchases.
|
||
| Num | Product | Action |
|---|---|---|
| 1 | BLACK+DECKER 1.2 Cu. Ft. Compact Upright Freezer, Mini Deep Freeze with Full-Width Wire Shelf |

|
| 2 | SPT UF-114W Upright Freezer, White, 1.1 Cubic Feet |
|
| 3 | BESTYASH Freezer Organizer Divider Adjustable Chest Freezer Organizer with Breathable Layered Mesh for Refrigerator and Freezer Food and Beverage Storage 15.9X15.9X12.6 Inches |
|
| 4 | Avanti Upright Freezer Compact Design with 3 Fixed Metal Shelves, Reversible Door Adjustable Temperature Control and Flush-Back Design Perfect for Home, Office, Basements & More, 2.8-Cu.Ft, White |
|
| 5 | Koolatron 1.2 Cubic Feet Capacity White Upright freezer - 1 wired shelf, Garage Ready, Meat Storage, Manual Defrost, Space Saving, Congelador For Home, Apartment, Basement, Dorm, Room |
|
| 6 | Chest Freezer Small Deep Freezer 3.5 Cu.Ft Mini Freezer with Removable Baskets & 6 Adjustable Temperature (Down to -11°F)& Top Open Door, Mini Compact Freezer Suitable for Apartments, Kitchen, White |
|
| 7 | Koolatron Deep Freezer - 3.5 Cubic Feet, White Chest Freezer, 1 Wire Basket, Garage Ready, Meat Storage, Front Drain, Congelador For Home, Apartment, Basement, Dorm, Cottage, Manual Defrost, Stand Up |
|
| 8 | Commercial Solid Top Chest Freezer by Atosa |
|
| 9 | 2 Pack Refrigerator Thermometer, 30-30°C/20-80°F, Classic Fridge Thermometer Large Dial with Red Indicator Thermometer for Freezer Refrigerator Cooler |
|
| 10 | Whynter Upright Small Freezer Mini Freezer with Lock for Bedrooms, Dorms, Garages, Offices CUF-110B, Black Energy Star, 1.1 Cu Ft |
|
The replacement process involves a few key steps. First, unplug the freezer and empty its contents. Locate the thermostat, which is usually found near the temperature control dial or inside the control panel. You may need to remove a few screws to access it. Carefully disconnect the wires attached to the old thermostat, noting their positions or taking a photo for reference. Remove the old thermostat and install the new one, reconnecting the wires exactly as they were. Secure any panels you removed, plug the freezer back in, and set the desired temperature. Monitor the freezer for a few hours to ensure it’s maintaining the correct temperature.
- Unplug the freezer and empty contents.
- Locate and access the old thermostat.
- Disconnect and remove the faulty unit.
- Install the new thermostat and reconnect wires.
- Test the freezer’s temperature control.
Troubleshooting After Replacement
After replacing the thermostat, if your chest freezer still isn’t functioning correctly, there are a few things to check. Double-check all wire connections to ensure they are secure and correctly attached. Verify that the new thermostat is indeed the correct part for your specific model. If the issue persists, the problem might lie with another component, such as the compressor, start relay, or even a refrigerant leak. In such cases, it might be best to consult a professional appliance technician. For reliable replacement parts, consider checking outfor a wide selection of chest freezer thermostats.
When to Call a Professional
While replacing a thermostat is a common DIY repair, there are situations where professional help is advisable. If you’re uncomfortable working with electrical components, or if the issue seems more complex than a simple thermostat replacement, it’s safer to call a qualified technician. Additionally, if your freezer is still under warranty, attempting a DIY repair might void it. A professional can accurately diagnose the problem and ensure the repair is done safely and effectively. For more complex repairs or if you’re considering a new unit, explore options at.
